Selling
Selling is open to everyone, on any plan. You enable a seller profile, connect Stripe for payouts, and create a listing — then manage offers, sales and shipping from the Sell console. The only thing your plan changes is the selling fee.


Enable selling
There's no paid gate — the free Hobbyist plan can sell just like Collector and Enthusiast. Your selling fee is 7.5% on Hobbyist, 5% on Collector and 2.5% on Enthusiast, and Enthusiast listings get a priority-listing boost. Stripe's payment-processing fees are covered by the platform. See fees for the full breakdown.
To sell, you enable a seller profile and connect a Stripe account for payouts. You do this once, before your first sale.
Connect Stripe
Payouts run through Stripe Connect.
- Open the Sell area (or use the prompt the first time you create a listing).
- Tap Connect Stripe.
- Complete Stripe's onboarding — your identity, bank and tax details go to Stripe, not to RetroTechCollector.
- Return to the app once Stripe confirms your account is ready.


RetroTechCollector never sees your bank or tax details — Stripe stores them. If onboarding pauses on "details needed", finish the outstanding step in Stripe and your account will activate.
Create a listing
There are three ways to list, and each ends at the same publish step. Listings are created one at a time — the old bulk-listing tool has been retired.
- Snap & List — start from a photo and let the app do the heavy lifting.
- From Collection — pick an item you've already catalogued and the listing pre-fills from its details and photos.
- Standalone — list something that isn't in your collection by entering its details directly.
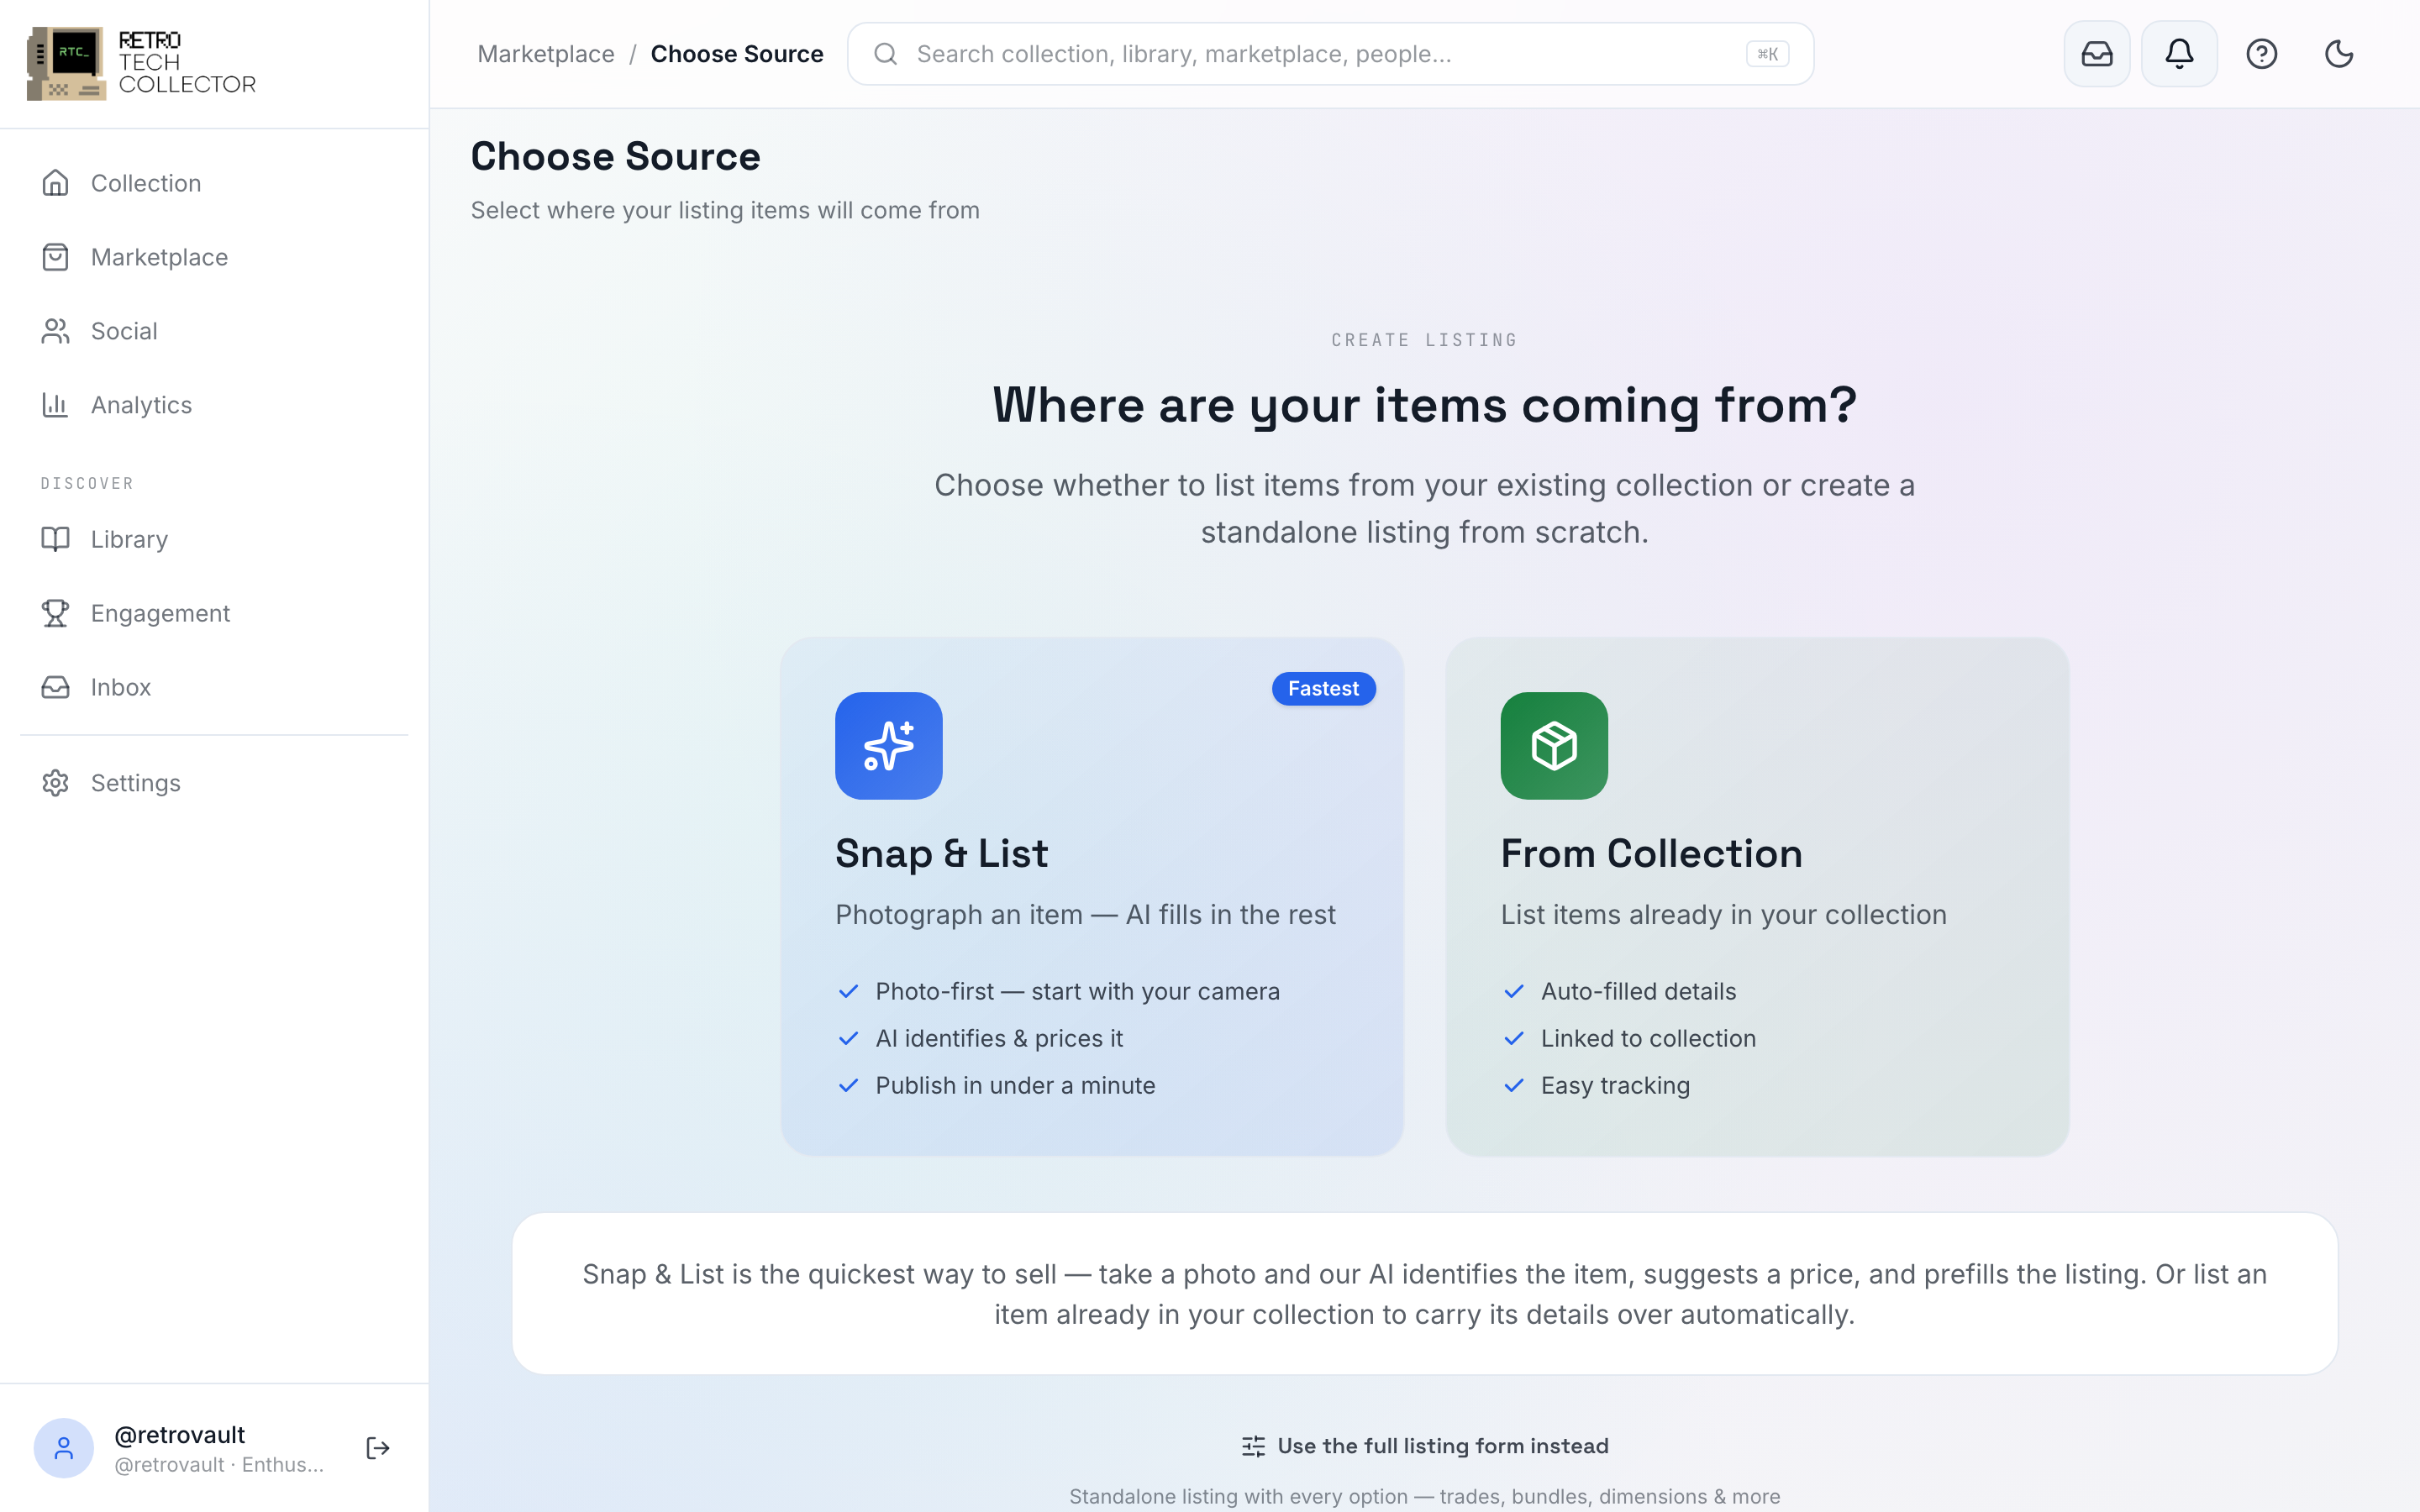
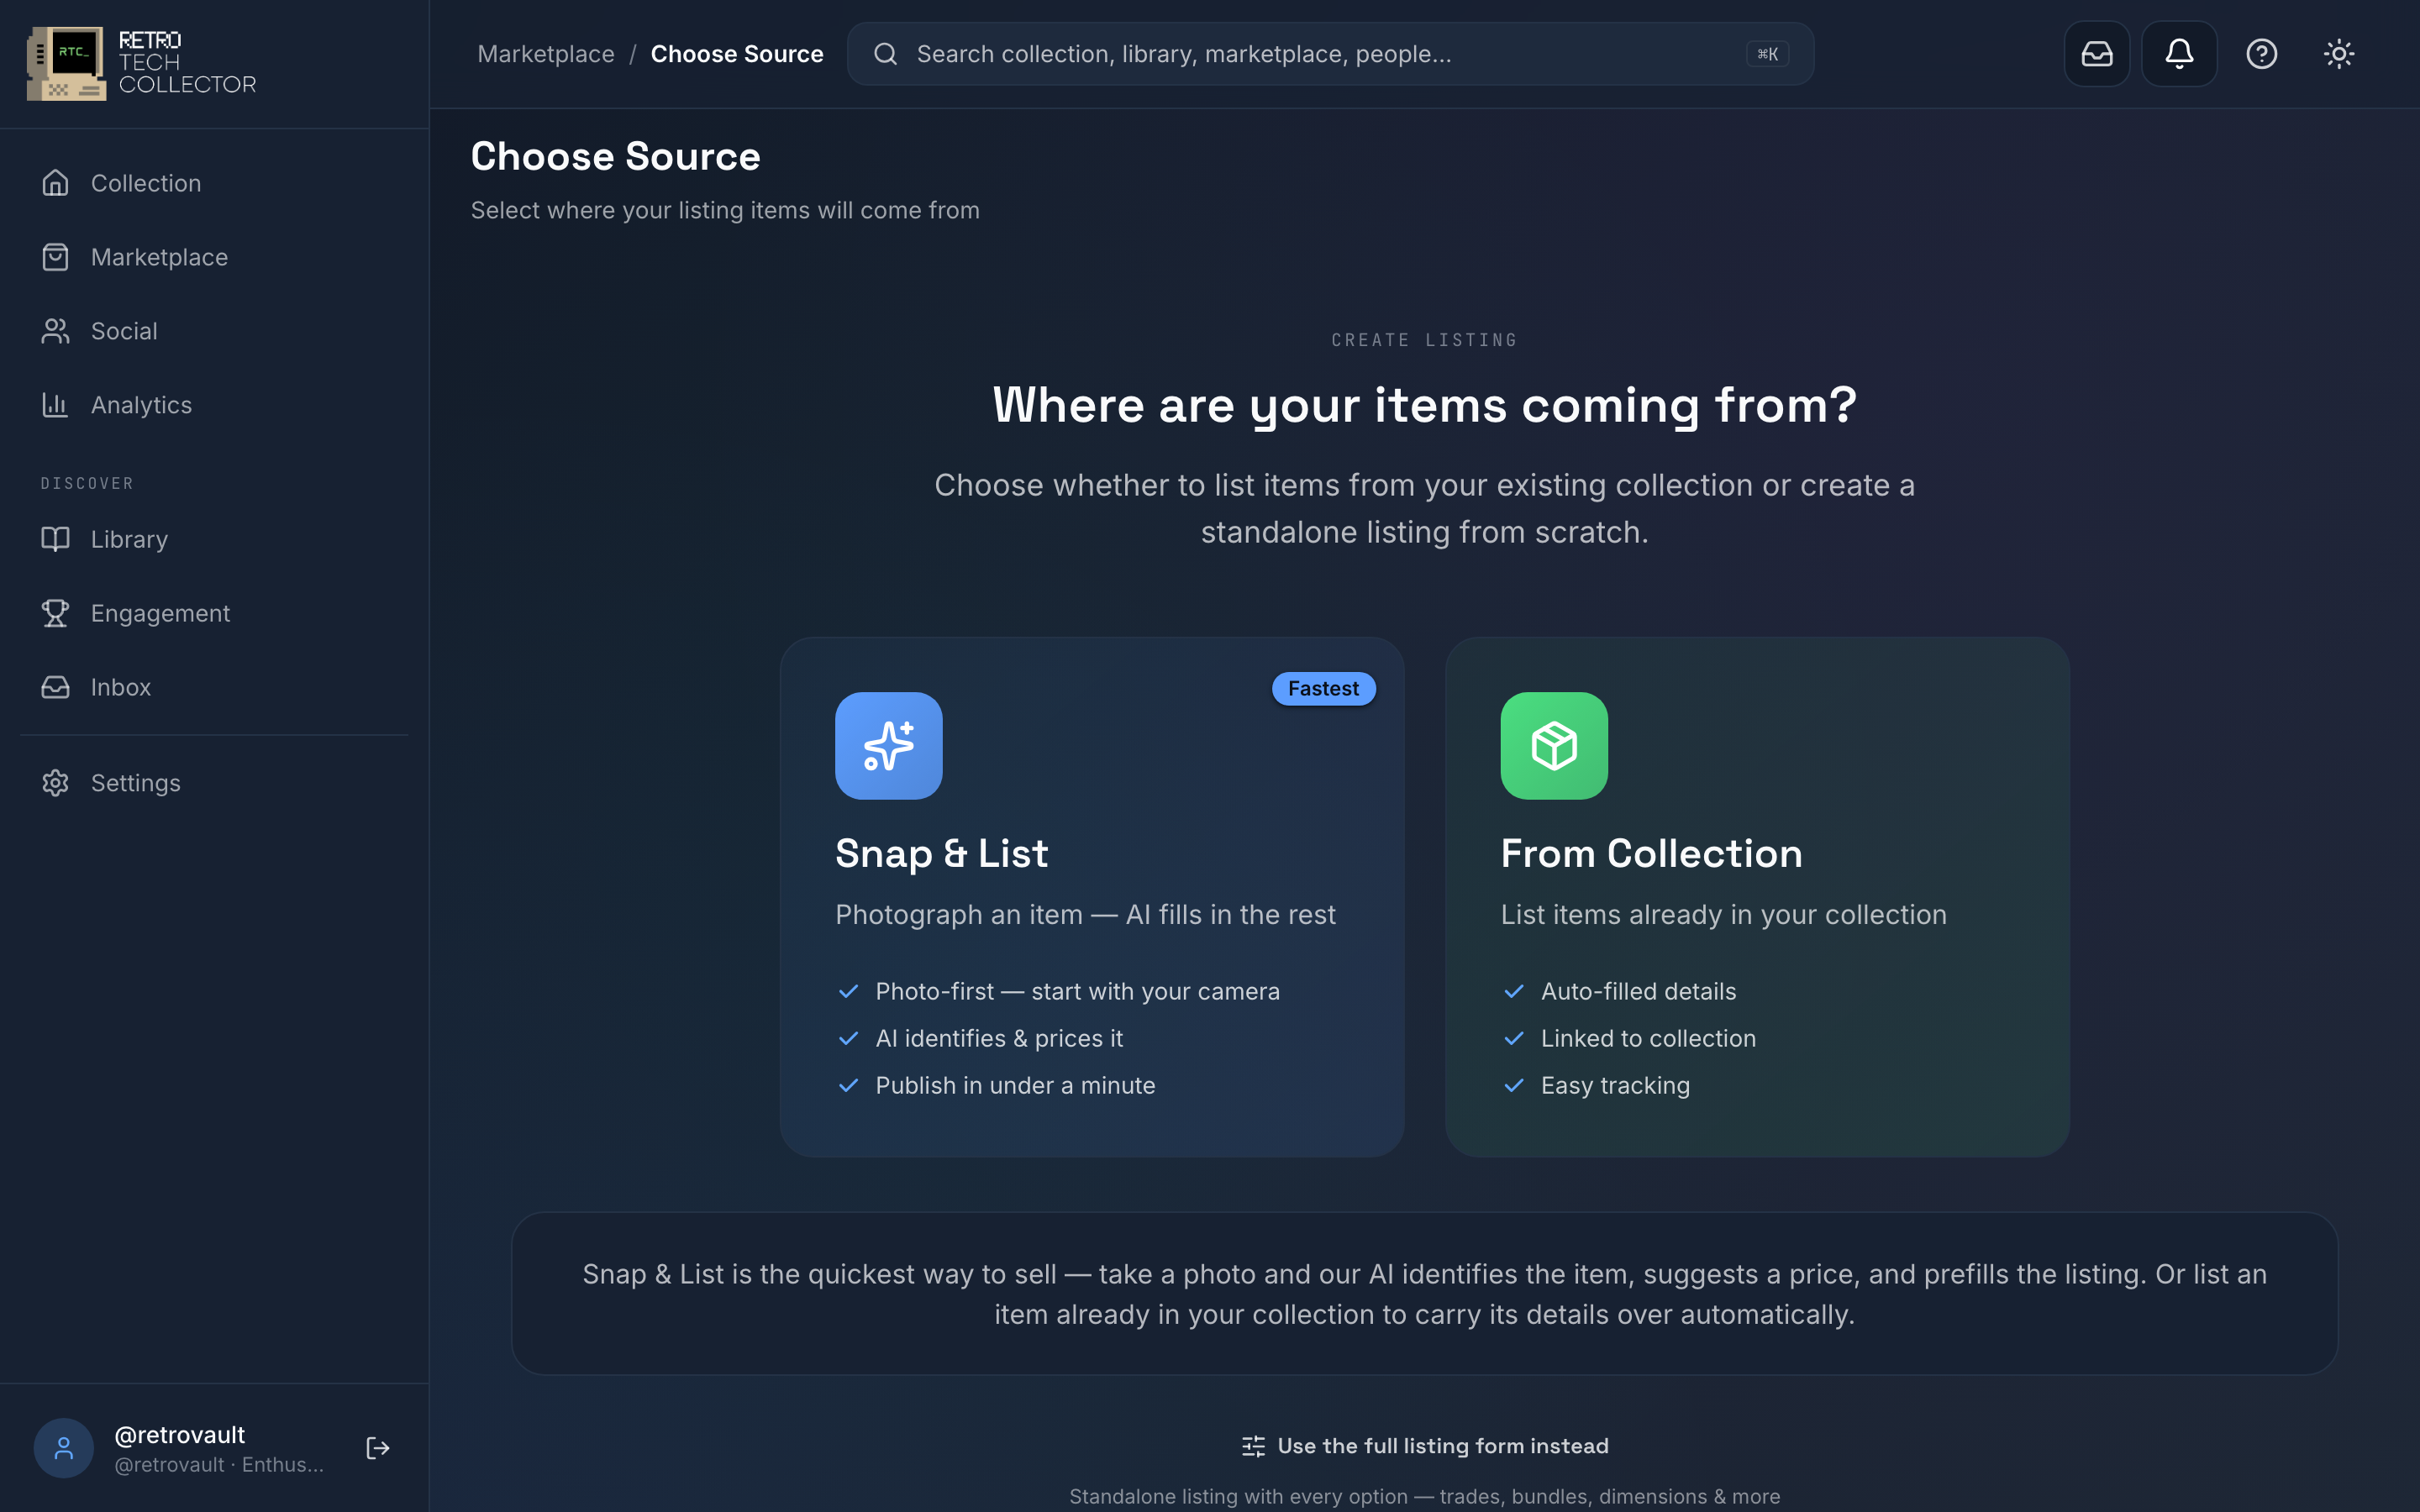
Snap & List
Snap & List walks a photo through to a published listing:
- Camera — snap the item.
- AI identify — the app recognises it and pre-fills the details.
- Condition grade — grade the condition and add close-up flaw photos so buyers see exactly what they're getting.
- Price assistant — get a suggested price from live market data; you're free to set your own.
- Parcel size — pick a parcel size so buyers see delivery up front.
- Publish — go live, or Save as draft to finish later.
Listing types
Each listing can be open to cash, trades, or both.
| Type | Buyers can | Good for |
|---|---|---|
| Sale | Buy Now, add to cart and make offers | Items you want to sell outright |
| Trade | Send trade offers | Swapping for other collectors' items |
| Both | Buy, offer or send a trade offer | Staying open to either |
For how swaps and dual-shipping work, see trading.
Drafts
Not ready to publish? Save as draft keeps a listing private until you come back to it. Drafts hold everything you've entered — type, price, photos and description — so you can finish and publish in one tap later.
The Sell console
The Sell console is where you run everything you're selling, across six areas:
| Area | What's there |
|---|---|
| Dashboard | Your Stripe-Connect status, a KPI strip, a revenue chart, offers to review, orders ready to ship and any open disputes |
| Listings | Everything you've put up for sale — edit, pause or take a listing down |
| Offers | Incoming and outgoing offers and counter-offers |
| Sales | Orders in progress and completed, with their status |
| Analytics | How your listings and sales are performing |
| Settings | Your seller profile, payout account and shipping defaults |
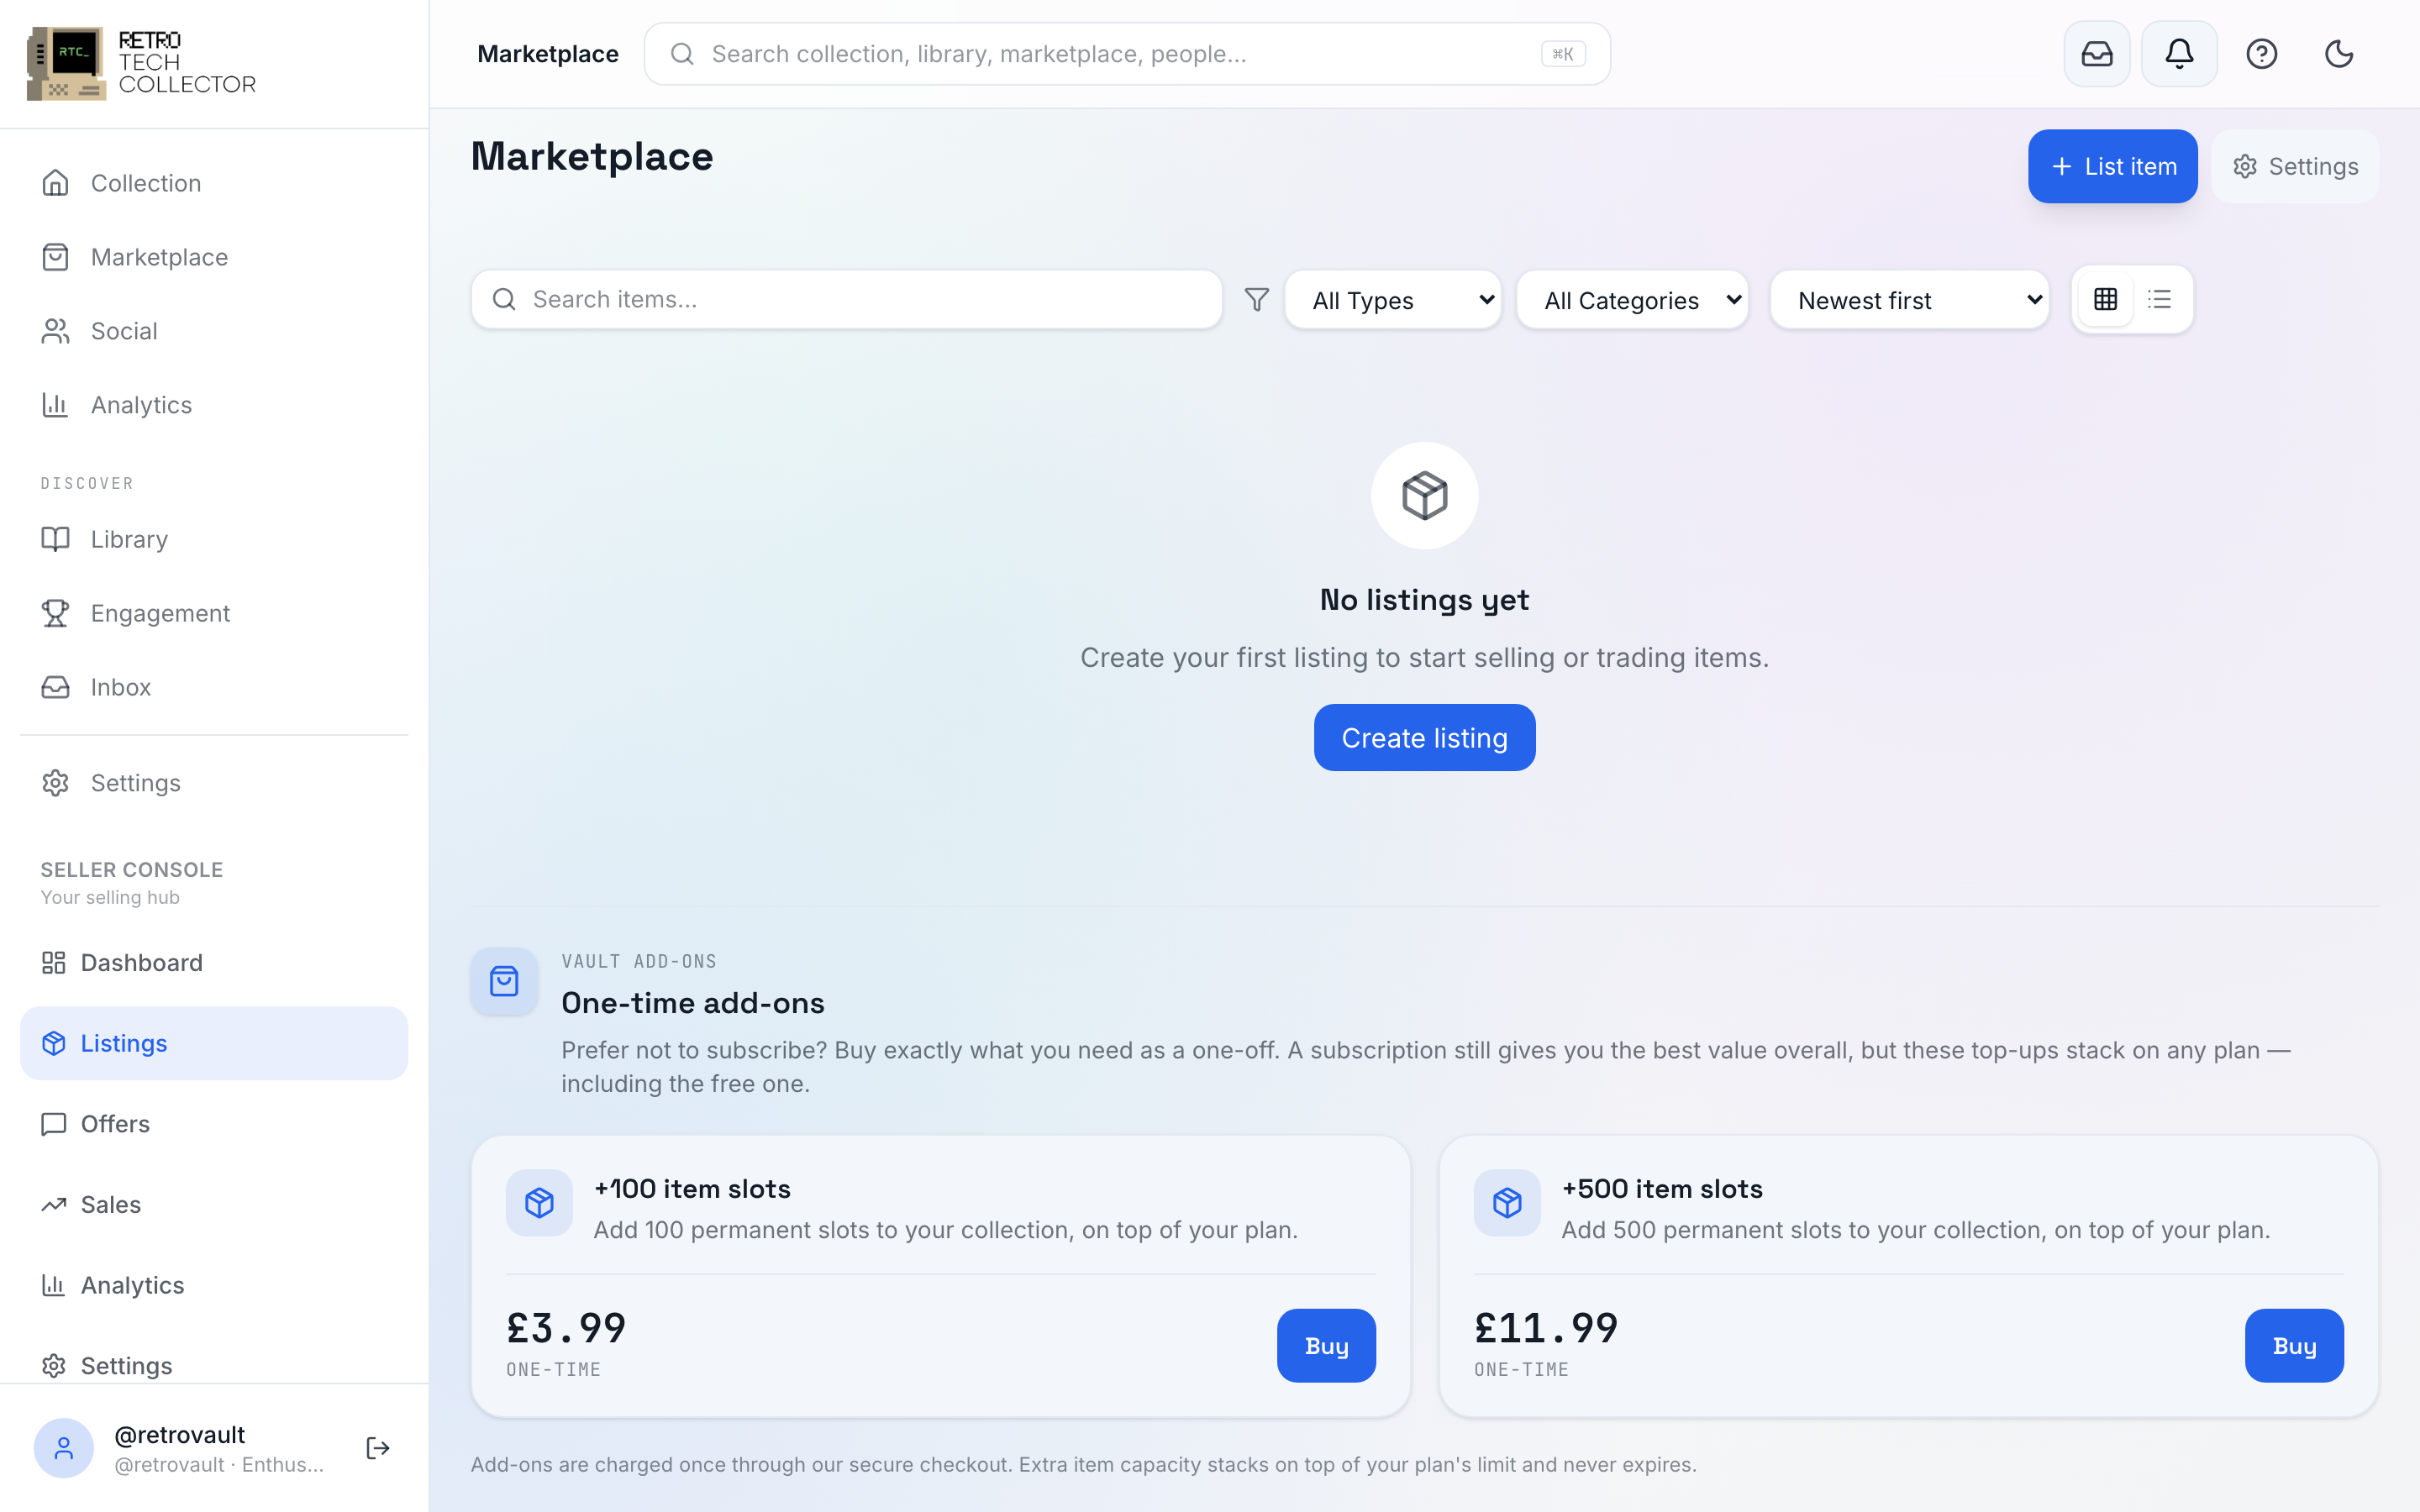

Offers land in the unified offers hub, reachable from both the Sell console and your activity, where you accept, counter or decline.
Ship and get paid
Once a buyer pays and the order is confirmed, post the item and mark it shipped.
- Open the order in Sales.
- Buy a Shippo shipping label, or use a saved parcel template.
- Print the label (or use printerless drop-off), attach it, and hand the parcel to the carrier.
- Mark the order shipped — the buyer can then follow tracking.
For carriers, printerless labels and parcel templates, see shipping.
Your payout, minus your plan's selling fee, is released through Stripe Connect once the sale completes. Track each order in Sales, and check fees for exactly what's deducted.
Selling pairs naturally with the rest of the marketplace — see buying, offers & bids, trading and shipping.